Quick Guide: How to print a t-shirt design with transfer paper?
Printing a T-shirt design using transfer paper is an interesting and easy way to create your own custom t-shirt. Here is a step-by-step guide to help you get started:
Materials you will need: Transfer paper、Inkjet printer、T-shirt (preferably 100% pure cotton)、Iron or heat press、Scissors
Step 1: Select or create your design
Step 2: Print the design
Step 3: Prepare the T-shirt
Step 4: Transfer the design
Step 5: Peel off the transfer paper
Step 6: Allow the design to cool
By following these steps, you can successfully print your own custom T-shirt design using transfer paper. Keep reading to learn more.
Printing your own t-shirts is a fun thing to do, So how to print a t-shirt design there are many methods among them, screen printing, digital printing or transfer paper printing, many people print their t-shirt designs at home or get them printed by a wholesaler. Transfer paper printing of t-shirt designs is a simple, easy and neat way to apply designs or intricate images to shirts or other fabrics. Login to TOB Fashion Wholesale, which is a high-quality T-shirt supplier where you can find all kinds of T-shirt printing styles that will surprise you.
What Is Transfer Paper?
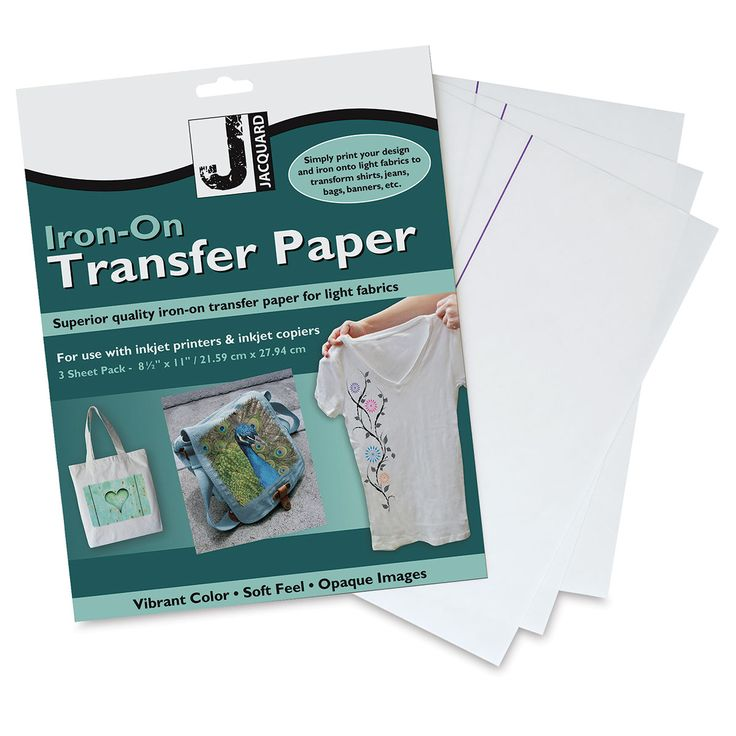
Transfer paper is a waxed and tinted thin paper used to transfer a design, pattern or image to another surface. It is commonly used for a variety of arts and crafts projects and also for wholesale printing. Transfer paper is made by coating one side of the paper with a special polymer that can be activated by heat or pressure. It is used in textile and craft projects.
There are different types of transfer paper available, depending on the surface you want to transfer your image to. Transfer paper is widely used in the production of customized T-shirts, luggage and other textile products, as well as the production of customized cups, plates and other ceramic products. It is also used to print decals, stickers and temporary tattoos. It is also suitable for many kinds of printers, generally, inkjet printers or other printers are used to print images on transfer paper. A heat press can transfer images to clothing, canvas, or other surfaces. Don’t like it anymore can still eliminate print designs.

This content is sourced from Wikipedia: view more
Materials You Will Need:
Transfer paper
Inkjet printer
T-shirt (preferably 100% pure cotton)
Iron or heat press
Scissors
How To Print A T-Shirt Design With Transfer Paper?
When it comes to printing, you have two options for the design you want to use. You can create a unique design yourself using graphic design software, or you can search online for a pre-made design that you want to print. If you choose to create your own design, you have complete control over every aspect of the design, Includes t-shirt size, color, font and layout. On the other hand, you can search online for a pre-made design that suits your needs. Many websites offer a vast library of designs to choose from, ranging from simple to more complex designs.
Check the compatibility of the paper with your printer and make sure it is suitable for the fabric you will be using. Ensure that the image you want to print has the appropriate size and placement on the paper. If necessary, adjust the design to fit the size of the transfer paper, leaving a small margin at the edges. Before printing the image onto the transfer paper, remember to mirror the image, as this is crucial. This step will reverse the design, ensuring that it displays correctly when transferred onto the T-shirt.
The first step in preparing a T-shirt is to wash and dry it. This will eliminate any wrinkles or debris that could interfere with the transfer paper adhering correctly. It is recommended to use a gentle detergent and wash the T-shirt in cold water to avoid shrinking or fading. After washing, check the T-shirt for any remaining wrinkles or debris. Use a low heat iron to smooth out any wrinkles, but be careful not to burn the fabric or leave iron marks. If there is any remaining debris, remove them with a lint roller. Once the T-shirt is clean and smooth, you can prepare the transfer paper.

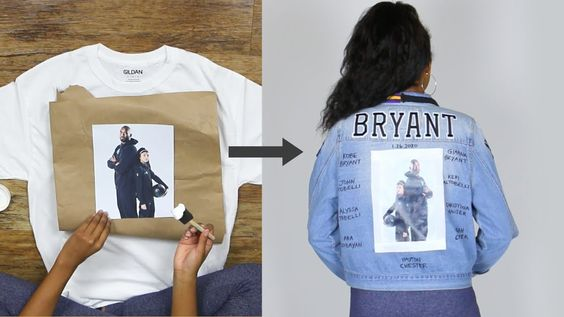
To transfer a design onto a T-shirt, first ensure that the design is printed onto transfer paper. Then, place the transfer paper with the pattern facing down onto the T-shirt where you want the design to appear. Carefully follow the instructions on the transfer paper to ensure that the design adheres correctly to the fabric. This typically requires the use of a hot iron. Make sure to apply even pressure throughout the entire design while ironing to prevent any parts from peeling or not adhering properly. Once finished ironing, carefully peel away the transfer paper to reveal the design on the T-shirt.
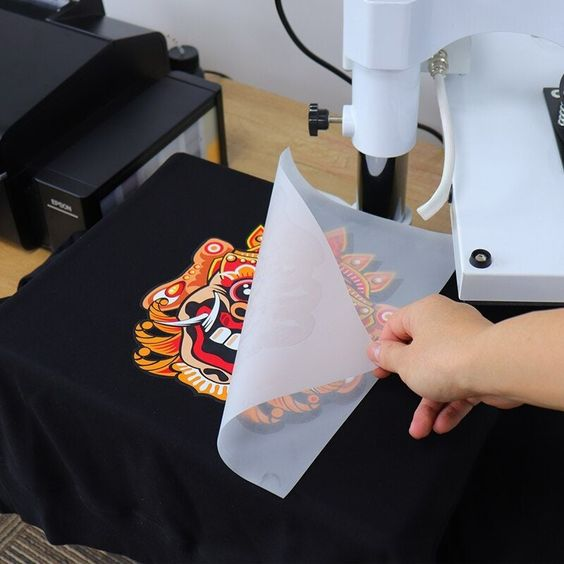
Once you have ironed your design onto the T-shirt, the next step is to remove the transfer paper. You should take it slow and carefully peel off the transfer paper to avoid damaging the design. Grab one corner of the transfer paper and gently pull it backward at a 180-degree angle until the entire transfer paper comes off the T-shirt. If you encounter any resistance, or if the transfer paper seems to be sticking to the design, stop pulling and use a gentle rubbing motion to loosen the paper.
Once the transfer paper is removed, allow the T-shirt to cool for a few minutes. This is important to ensure that the design sets and adheres correctly. The heat from the iron can cause the fabric to become hot and malleable. Allowing the T-shirt to cool will ensure that the design sets and adheres correctly. It is best to wait at least five minutes before handling or wearing the T-shirt. During this time, you can lay it flat on a clean surface to cool evenly.

The Benefits Of Printing T-Shirts On Transfer Paper
Printing T-shirts on transfer paper offers several benefits:
- Customization
Transfer paper allows for greater customization of T-shirts. You can print any design or image onto the transfer paper, and then transfer it onto the T-shirt. This makes it easy to create personalized T-shirts for events, businesses, or individual use.
- Cost-effective
Transfer paper printing is a cost-effective way to produce small batches of T-shirts. Traditional screen printing wholesale can be expensive for small quantities, while transfer paper printing is more affordable and accessible.
- Quick turnaround time
Printing T-shirts on transfer paper is a quick process, taking only a few minutes to complete once the design is printed onto the paper. This makes it a great option for those who need T-shirts quickly for events or marketing purposes.
- High-quality prints
Transfer paper printing can produce high-quality prints with vibrant colors and intricate designs. This is especially true when using high-quality transfer paper and a quality printer.
- Versatility
Transfer paper printing can be done on a variety of fabrics and materials, making it a versatile option for T-shirt printing. You can use it on cotton, polyester, or a blend of both.

Conclusion
Overall, printing T-shirts on transfer paper is a great option for those looking to create custom T-shirts quickly and affordably, while still achieving high-quality results. Log in to TOB wholesale. Both digital and screen printing. It is definitely an ideal supplier that produces high-quality products at ideal prices. You can check the after-sales reviews on their website or social media platforms.
FAQs
How do you print a design on transfer paper for a shirt?
To print a design on transfer paper for a shirt, follow these steps:
- Choose a transfer paper that is compatible with your printer and the type of fabric you will be printing on. Make sure to read the instructions that come with the transfer paper carefully.
- Create your design on a computer using software such as Adobe Photoshop or Illustrator. Make sure to size the design correctly for the shirt you will be using.
- Print the design onto the transfer paper using a high-quality printer. Make sure to follow the transfer paper manufacturer’s instructions for printer settings.
- Preheat the iron to the temperature recommended by the transfer paper manufacturer.
- Place the shirt on a flat surface and iron it to remove any wrinkles.
- Place the transfer paper design-side down onto the shirt in the desired location.
- Apply pressure to the iron and hold it over the transfer paper for the amount of time recommended by the transfer paper manufacturer.
- Let the transfer paper cool completely before peeling it off to reveal the design on the shirt.
Can you use a regular printer for t-shirt transfer paper?
You can use regular printer ink with inkjet heat transfer paper. Both original and compatible inks are acceptable. Pigment-based inks tend to last longer compared to dye-based inks. Hence, using pigment-based inks on heat transfer paper will result in a longer-lasting print. When using inkjet heat transfer paper, it’s important to follow the manufacturer’s instructions carefully. Incorrect use may result in poor-quality prints, and the transfer may not adhere properly to the fabric. To achieve the best results, use a good-quality heat press to transfer the design onto the fabric.
How do I print a design on transfer paper?
When it comes to printing your own t-shirt, there are several steps you need to follow to ensure a successful outcome. The first step is to choose the design you want to print on your t-shirt. The next step is to purchase transfer paper, which is specially designed for printing on t-shirts. Transfer paper can be found at most craft stores or online. Before printing your design onto transfer paper, it is important to mirror the image of light-coloured t-shirts.
Choosing and covering the surface where you will be ironing the transfer onto the t-shirt is also an important step. Once you have your design printed onto the transfer paper, it is time to cut out the image. Next, place the transfer paper onto the t-shirt, making sure it is positioned correctly. Once the transfer paper has been ironed onto the t-shirt, let it cool completely before peeling off the backing paper.


